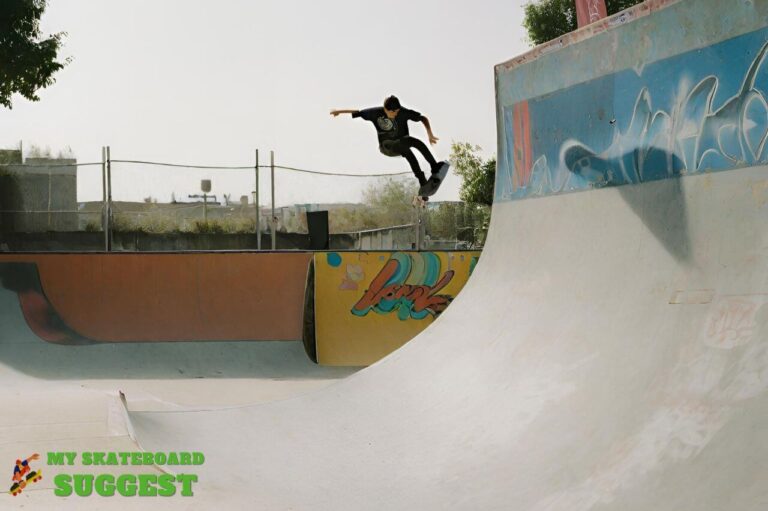
Skateboarding is not just a sport; it’s a way of life, a culture that thrives on creativity and individuality.
Building your skateboard ramp can be an exciting and rewarding endeavor if you’re passionate about skateboarding and looking to elevate your skills or simply seeking a fun DIY project.
Whether you dream of mastering tricks, perfecting transitions, or creating a hangout spot for you and your fellow skaters, this comprehensive guide will walk you through the steps to construct a skateboard ramp that suits your style, skills, and preferences.
Get ready to dive into the world of skate ramp construction, where the possibilities are as limitless as the tricks you can perform on your creation.

Building a skateboard ramp, also known as a skate ramp or halfpipe, can be a fun and rewarding DIY project.
Here are the basic steps to make a simple skateboard ramp.
Remember that the dimensions and design can vary depending on your preferences and available space, but this guide will give you a general idea of the process.
Materials you’ll need:
- Plywood sheets 3/8″
- Framing lumber (typically 2x4s)
- Plywood sheets 1/8″
- Screws 1.5″ + 2.5″
- Plywood or masonite for the skating surface
- Skatelite or similar skateboarding surface material (optional but highly recommended)
- Plywood for the transition and deck
- Ramps plans or blueprints (if you’re not designing it yourself)
Tools you’ll need:
- Circular saw
- Jigsaw
- Screwdriver or drill
- Measuring tape
- Pencil
- Carpenter’s square
- Safety gear (gloves, safety glasses, hearing protection)
Step-by-step guide:
Design your ramp: Sketch out the design of your ramp, including the dimensions, transitions, and the location of the coping if you plan to use it.
You can find pre-made ramp plans online or design your own.
Prepare the location:
Choose a suitable location for your skateboard ramp.
Make sure the ground is level and stable. You may need to clear the area of debris and obstacles.
Build the frame:
Construct the frame of the ramp using 2x4s.
Use your design as a reference.
Make sure to create a solid and sturdy frame that will support the weight of skaters.
Attach the frame securely to the ground.
Cut and attach the transition:
Cut plywood sheets to create the transition (the curved part of the ramp).
Use a circular saw and jigsaw to shape the plywood according to your design.
Attach the transition to the frame using screws.
Build the deck:
Create the deck by cutting plywood sheets to the desired size and shape.
It should be large enough to provide skaters with a safe and stable platform.
Attach the deck to the top of the ramp structure.
Install the skating surface:
Cover the transition and deck with skateboarding surface material.
Skatelite or similar materials are ideal, but you can also use plywood or masonite.
Secure it in place with screws.
Add coping (optional):
If your design includes coping, install it along the top edge of the ramp.
Coping provides a smoother surface for grinding.
Finish and safety:
Sand any rough edges and surfaces to ensure the ramp is safe to skate on.
Add a coat of paint or sealant to protect the wood and make the ramp look more appealing.
Test and adjust:
Before using the ramp, ensure it’s stable and safe.
Make any necessary adjustments and fixes to ensure it meets your expectations.
Remember to follow all safety precautions and local regulations when building and using your skateboard ramp.
Always wear appropriate safety gear while skating.
It’s a good idea to have experienced skateboarders test your ramp and provide feedback on its design and safety.
FAQs
What is the slope of a skateboard ramp?
The ideal slope for a skateboard ramp is typically around 15-30 degrees.
What is the physics of a skateboard ramp?
The physics of a skateboard ramp can be understood as a transformation of energy.
When skaters start at the top of the ramp, they possess gravitational potential energy from their height above the ground.
As they descend the ramp, this potential energy seamlessly transitions into kinetic energy associated with their movement.
What size is a mini ramp?
A mini ramp commonly measures 12 feet in width, 3 feet in height, and 24 feet long.
In conclusion
The relationship between the skater and the ramp is special in skateboarding.
Building your skateboard ramp provides a unique space to ride and opens the door to endless possibilities for progression and self-expression.
As you journey through this guide, we hope you’ve gained the knowledge and confidence to bring your skateboard ramp vision to life.
Remember that safety and quality are paramount, so take your time, follow the steps carefully, and enjoy the process.
With your skateboard ramp standing tall, you’re creating a space for endless hours of fun and contributing to the vibrant skateboarding community.
So, grab your board, invite your friends, and let the good times roll as you ride the wave of your creation.
Skate on, and keep pushing the boundaries of what’s possible!


